Building a DIY Pergola: Shade and Style for Your Patio
RH Business Marketing Solutions
A pergola is not just an outdoor structure; it's an extension of your home, a versatile space that combines functionality with aesthetics. Building a DIY pergola can be a rewarding project, providing shade and adding a touch of style to your patio. In this comprehensive guide, we'll walk you through the steps of creating a beautiful and functional pergola, exploring the concepts of patio covers, DIY kits, and pergola design.
Understanding the Importance of a Pergola as a Patio Cover:
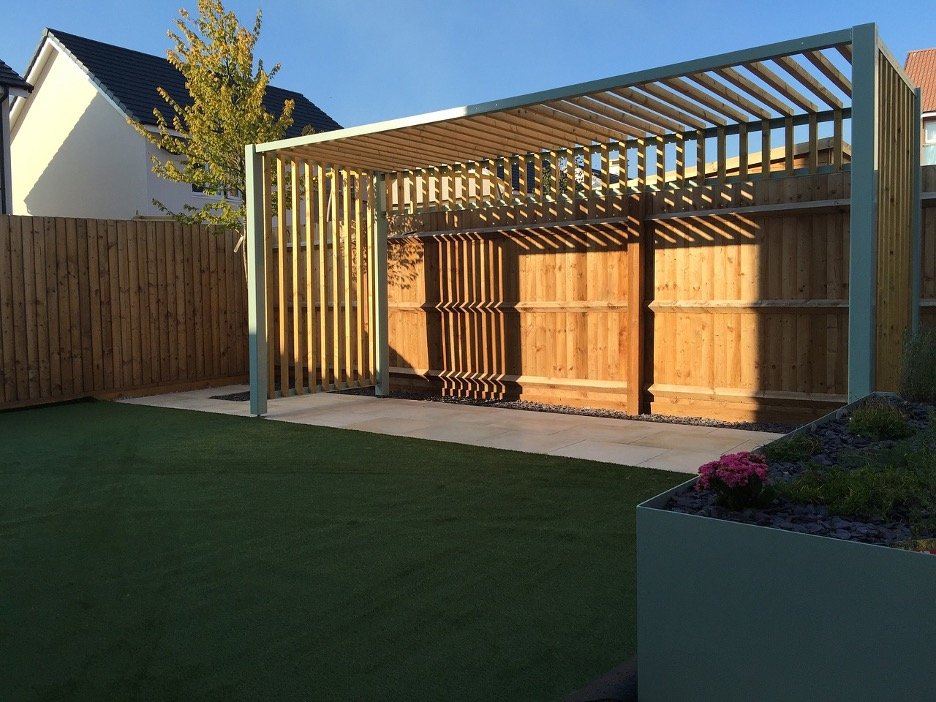
A pergola serves as an elegant patio cover, offering protection from the sun while creating an inviting outdoor space. Unlike solid roof structures, pergolas provide a balance of shade and sunlight, allowing you to enjoy the outdoors without feeling confined. The open design also promotes natural ventilation, making it an ideal choice for warm weather.
Choosing the Right Pergola Design:
Before diving into the construction process, it's crucial to decide on the design that complements your patio and meets your functional needs. Pergolas come in various styles, from traditional to modern, and can be freestanding or attached to your home. Consider factors such as the size of your patio, the architectural style of your home, and the overall ambiance you want to create in your outdoor space.
DIY kits have made the process of choosing a pergola design even more accessible. These kits typically come with pre-cut materials and detailed instructions, simplifying the construction process for homeowners with varying levels of DIY experience. The availability of DIY kits allows you to choose a pergola design that suits your taste and easily bring it to life.
Selecting the Right DIY Kit for Your Pergola:
When exploring DIY kits for your pergola project, it's essential to consider the materials, dimensions, and included components. Many kits are available in wood, metal, or vinyl, each offering its own set of benefits. Wood provides a natural and rustic look, while metal and vinyl offer durability and low maintenance.
Ensure that the DIY kit includes all the necessary hardware, such as screws, brackets, and anchors. Some kits even come with pre-drilled holes and notched components, streamlining the assembly process. Carefully read the instructions provided with the kit and familiarize yourself with the tools required before starting the project.
Step-by-Step Guide to Building Your DIY Pergola:
Gather Materials and Tools:
Assemble all the materials included in your DIY kit, making sure everything is accounted for. Gather the necessary tools, including a saw, drill, level, and measuring tape.
Prepare the Site:
Choose the location for your pergola and ensure the ground is level. If attaching to your home, verify that the structure can be safely secured to the exterior.
Assemble the Frame:
Follow the provided instructions to assemble the pergola frame. This typically involves connecting pre-cut pieces using the provided hardware. Take your time to ensure accuracy, as a well-constructed frame is the foundation of a sturdy pergola.
Secure the Pergola:
If your pergola is freestanding, secure it to the ground using anchors. If attaching to your home, follow the recommended procedures for proper attachment, taking care to avoid damaging your home's exterior.
Install Crossbeams and Rafters:
Attach the crossbeams and rafters to the frame, following the designated spacing and design provided in the instructions. This step adds structural integrity and defines the overall look of your pergola.
Add Finishing Touches:
Sand any rough edges and apply a finish or paint to protect the wood or enhance the appearance. Consider adding decorative elements, such as lattice panels or climbing vines, to personalize your pergola.
Maintaining Your DIY Pergola:
Once your pergola is in place, regular maintenance will ensure its longevity and continued beauty. Check for any loose screws, inspect the condition of the wood or other materials, and clean the pergola as needed. Applying a fresh coat of sealant or paint every few years will help protect it from the elements.
Conclusion: Enjoying the Fruits of Your DIY Labor:
Building a DIY pergola is a gratifying endeavor that transforms your patio into a stylish and functional outdoor living space. With the versatility of pergola designs, the accessibility of DIY kits, and the satisfaction of creating a structure with your own hands, you can enjoy the shade and style of your personalized pergola for years to come. Whether it's for hosting gatherings, enjoying quiet moments, or simply enhancing your home's curb appeal, a DIY pergola is an investment that adds value to both your property and your outdoor lifestyle.