What To Expect During A Plumbing Repipe
RH Business Marketing Solutions
Is your property experiencing frequent leaks or clogs? Have you noticed signs of erosion in your home’s old pipes? Are you dealing with low water pressure has become a common frustration? Any of these issues may indicate that your plumbing system requires a repipe.
A plumbing repipe involves replacing the old pipes in your property with new ones, improving your plumbing system’s overall performance and functionality. This process provides a more reliable and efficient plumbing system by eliminating leaks or low water pressure.
Investing in a plumbing repipe can be worthwhile, whether you plan to repurchase your property, enhance its value, or improve your overall water quality. To help you with your repipe project, it’s important to know what to expect. Read on to learn more:
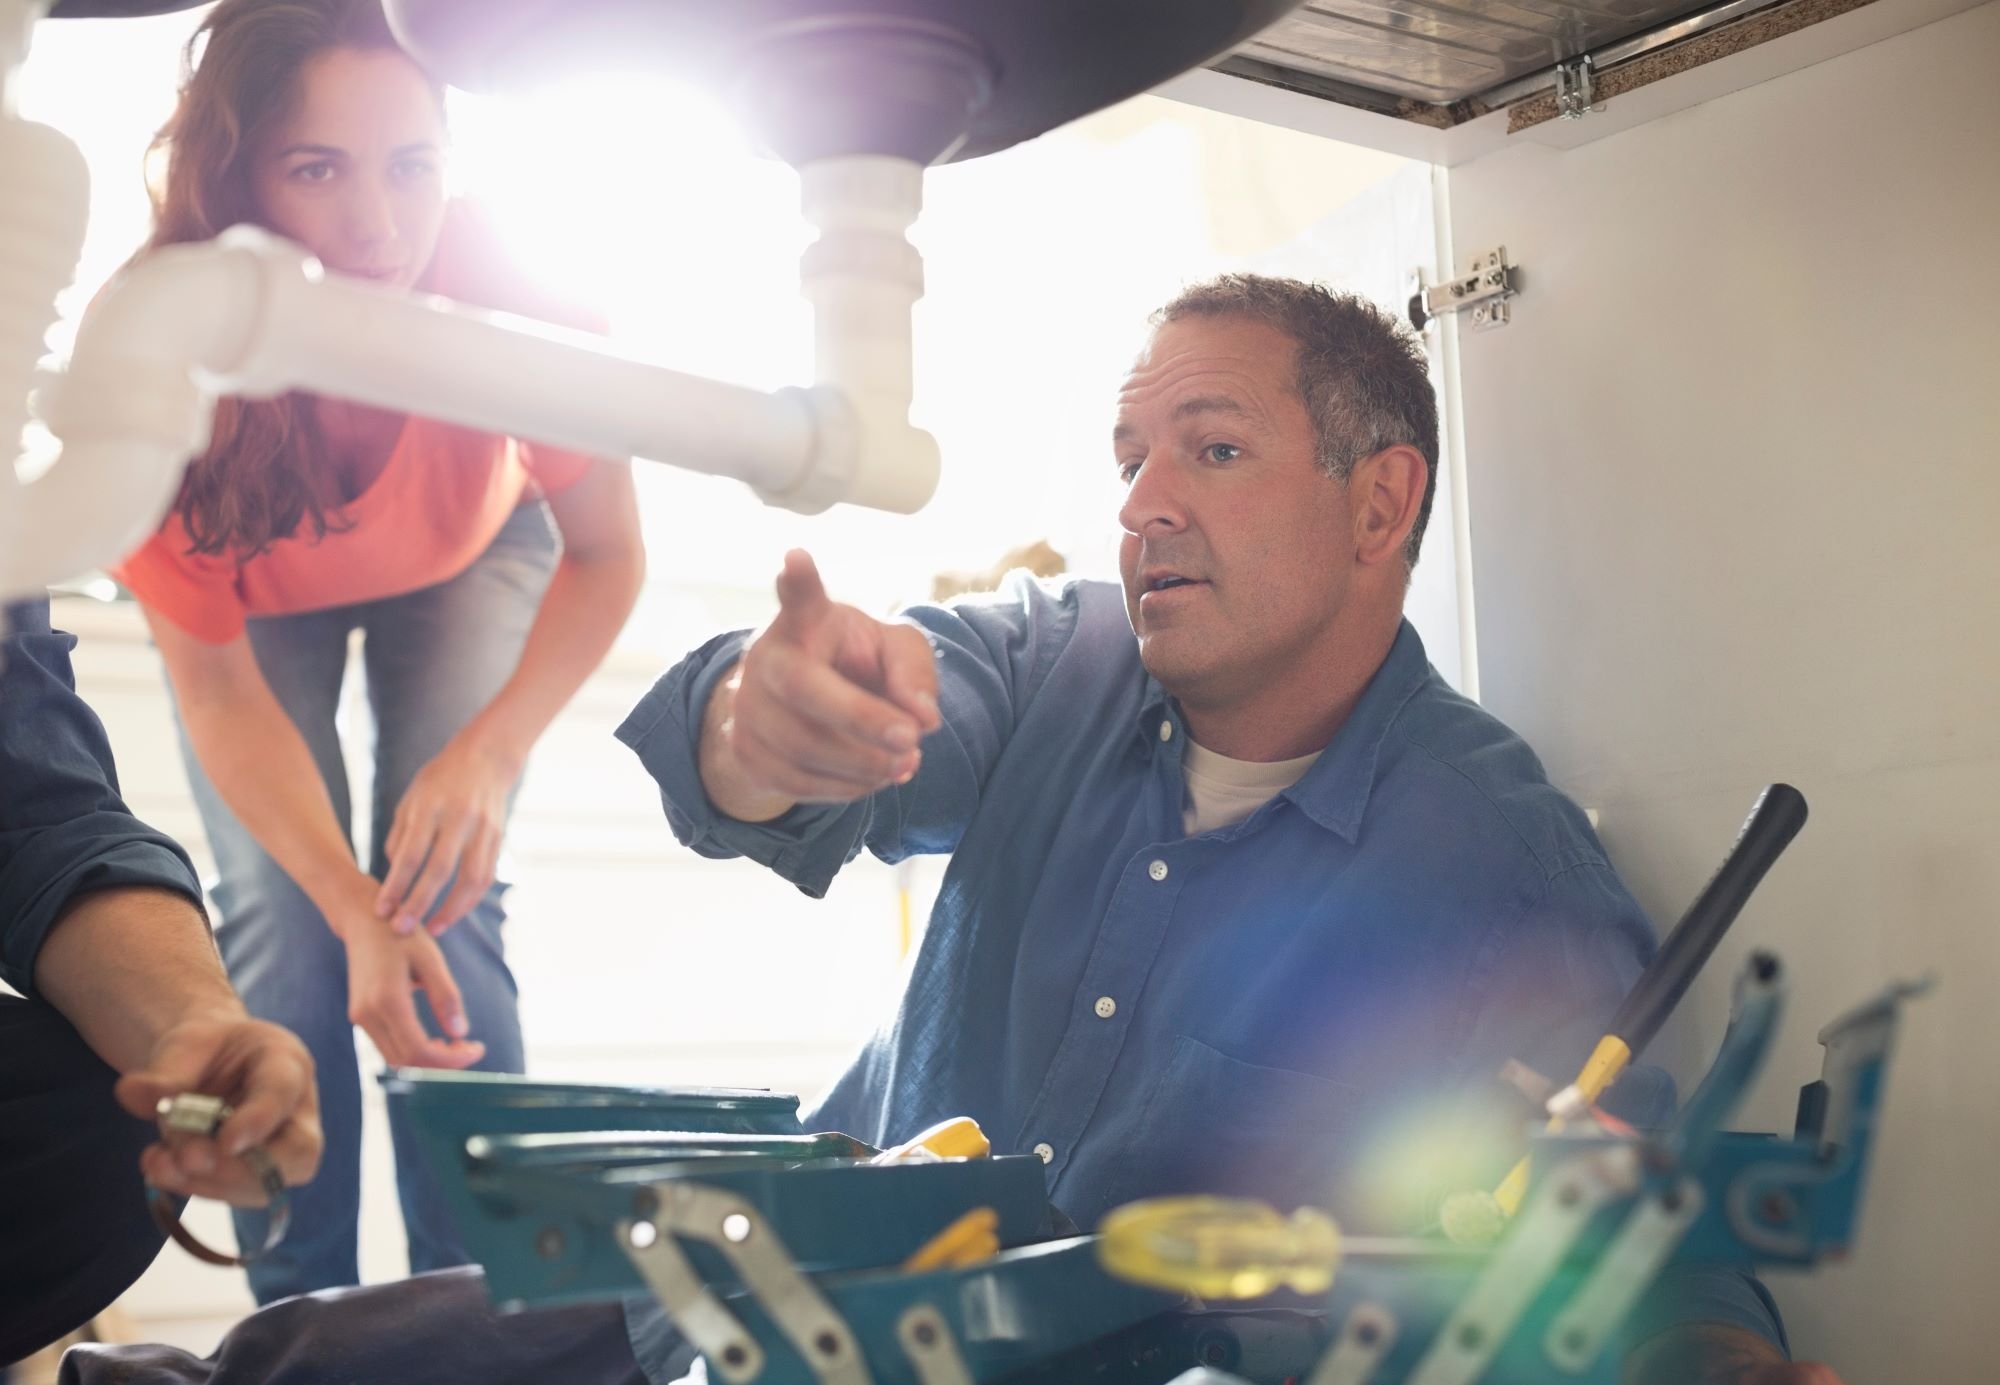
1. Evaluation
The first step of a plumbing repipe project involves evaluation. Professional repipe specialists Los Angeles (or a similar city) will assess the condition of your existing pipes and search for signs of corrosion or leaks. They’ll also examine the age and material of the pipes, as some materials are more prone to deterioration than others (for example, galvanized steel versus newer materials like copper or PEX). This evaluation is essential to determine the scope of the repiping project and ensure all necessary factors are considered.
During the evaluation process, one common challenge is identifying hidden plumbing problems. For instance, pipes concealed inside walls or under flooring may be difficult to inspect or access visually. In such cases, plumbers may utilize specialized tools like cameras to investigate the condition of these hidden pipes. This thorough evaluation provides a comprehensive understanding of the repiping requirements and helps avoid any unforeseen issues during the project.
2. Preparation
Once the evaluation is complete, it’s time to prepare for the repiping project. This stage involves creating a detailed action plan and acquiring the necessary materials. The plumber will estimate the total length of new pipes and calculate the fittings and fixtures needed. Ensuring that all materials meet the relevant plumbing codes and regulations is essential.
During the preparation phase, you may need to make arrangements for temporary disruptions to your water supply. Depending on the scope of the repiping project, consider staying elsewhere or coordinating water usage to minimize inconvenience.
Additionally, informing your household members or tenants about the upcoming repipe and any necessary adjustments can help manage expectations and ensure a smoother transition.
3. Removal Of Old Pipes
After completing the evaluation and preparation stages, the next step is to remove the old pipes from your home. This involves disconnecting and extracting the existing plumbing system. A professional plumber will disconnect all fixtures, including toilets, faucets, and showers, and carefully remove the old pipes.
During the removal process, additional challenges may arise. For example, inaccessible or corroded pipes may require alternative removal methods, such as cutting through walls or flooring. While this may cause temporary disruption or minor damage, a skilled plumber will minimize the impact and work efficiently to complete the removal process.

4. Installation Of New Pipes
Once the old pipes are removed, installing the new plumbing system is time. This step involves carefully fitting and connecting the new pipes throughout your home. The plumber will precisely measure and cut the pipes to ensure a proper fit and use fittings to secure and join the sections.
During the installation, the plumber will consider different fixtures’ water flow and pressure requirements. They will also take into account any specific needs or preferences you have regarding your home’s plumbing layout. The installation process may involve different techniques, such as soldering or crimping, depending on the pipes and fittings used. The goal is to create a reliable and efficient plumbing system providing years of trouble-free service.
5. Connection To Water Source
After the new pipes have been installed, the next step is to connect the repiped system to the main water supply of your property. A professional plumber will ensure a secure connection and conduct thorough tests, checking for any water leaks or irregularities that must be addressed.
While connecting the new pipes to the water source, there may be temporary disruptions to your water supply. Rest assured that dependable plumbers will make every effort to minimize inconvenience and swiftly restore the water flow once the connections are complete.
It’s important to note that during this stage, it’s normal to experience some air in the system, which may result in temporary sputtering or fluctuating water pressure. However, these issues should be resolved after a few days of regular water usage.
6. Restoration And Final Inspection
Once the plumbing system is fully connected and tested, the final step is restoration and inspection. At this stage, any areas opened up or affected during the repipe project will be restored to their original condition. This process includes repairing walls, patching flooring, and reinstalling fixtures.
After the restoration, a professional plumber will conduct a final inspection to ensure the repiped system functions correctly. They will check for leaks, test the water flow in different fixtures, and verify that all connections are secure. This meticulous inspection is crucial to ensure the longevity and efficiency of the newly repiped plumbing system.
Time To Enjoy Your Newly Repiped Home
Embarking on a plumbing repipe project may initially seem overwhelming, but by understanding the process and knowing what to expect, you can confidently tackle it. Each step ensures a successful repiping experience, from evaluating your existing pipes to the final inspection.
So, take this opportunity to upgrade your home’s infrastructure and bid farewell to plumbing disasters.