5 Cleaning And Organizing Tips After A Home Improvement Project
RH Business Marketing Solutions
A home renovation is a valuable investment to increase the value of your property and upgrade your family’s living space. However, the construction process can leave parts of your home in need of sprucing up.
This is why deep cleaning of the newly remodeled rooms is necessary. It can get rid of the dirt and grime created during the building and assembling process. Fortunately, there are time-efficient ways to clean and finally open up the areas for your household to move into and use.
Here are five cleaning and organizing tips after a home improvement project:
1. Start By Decluttering
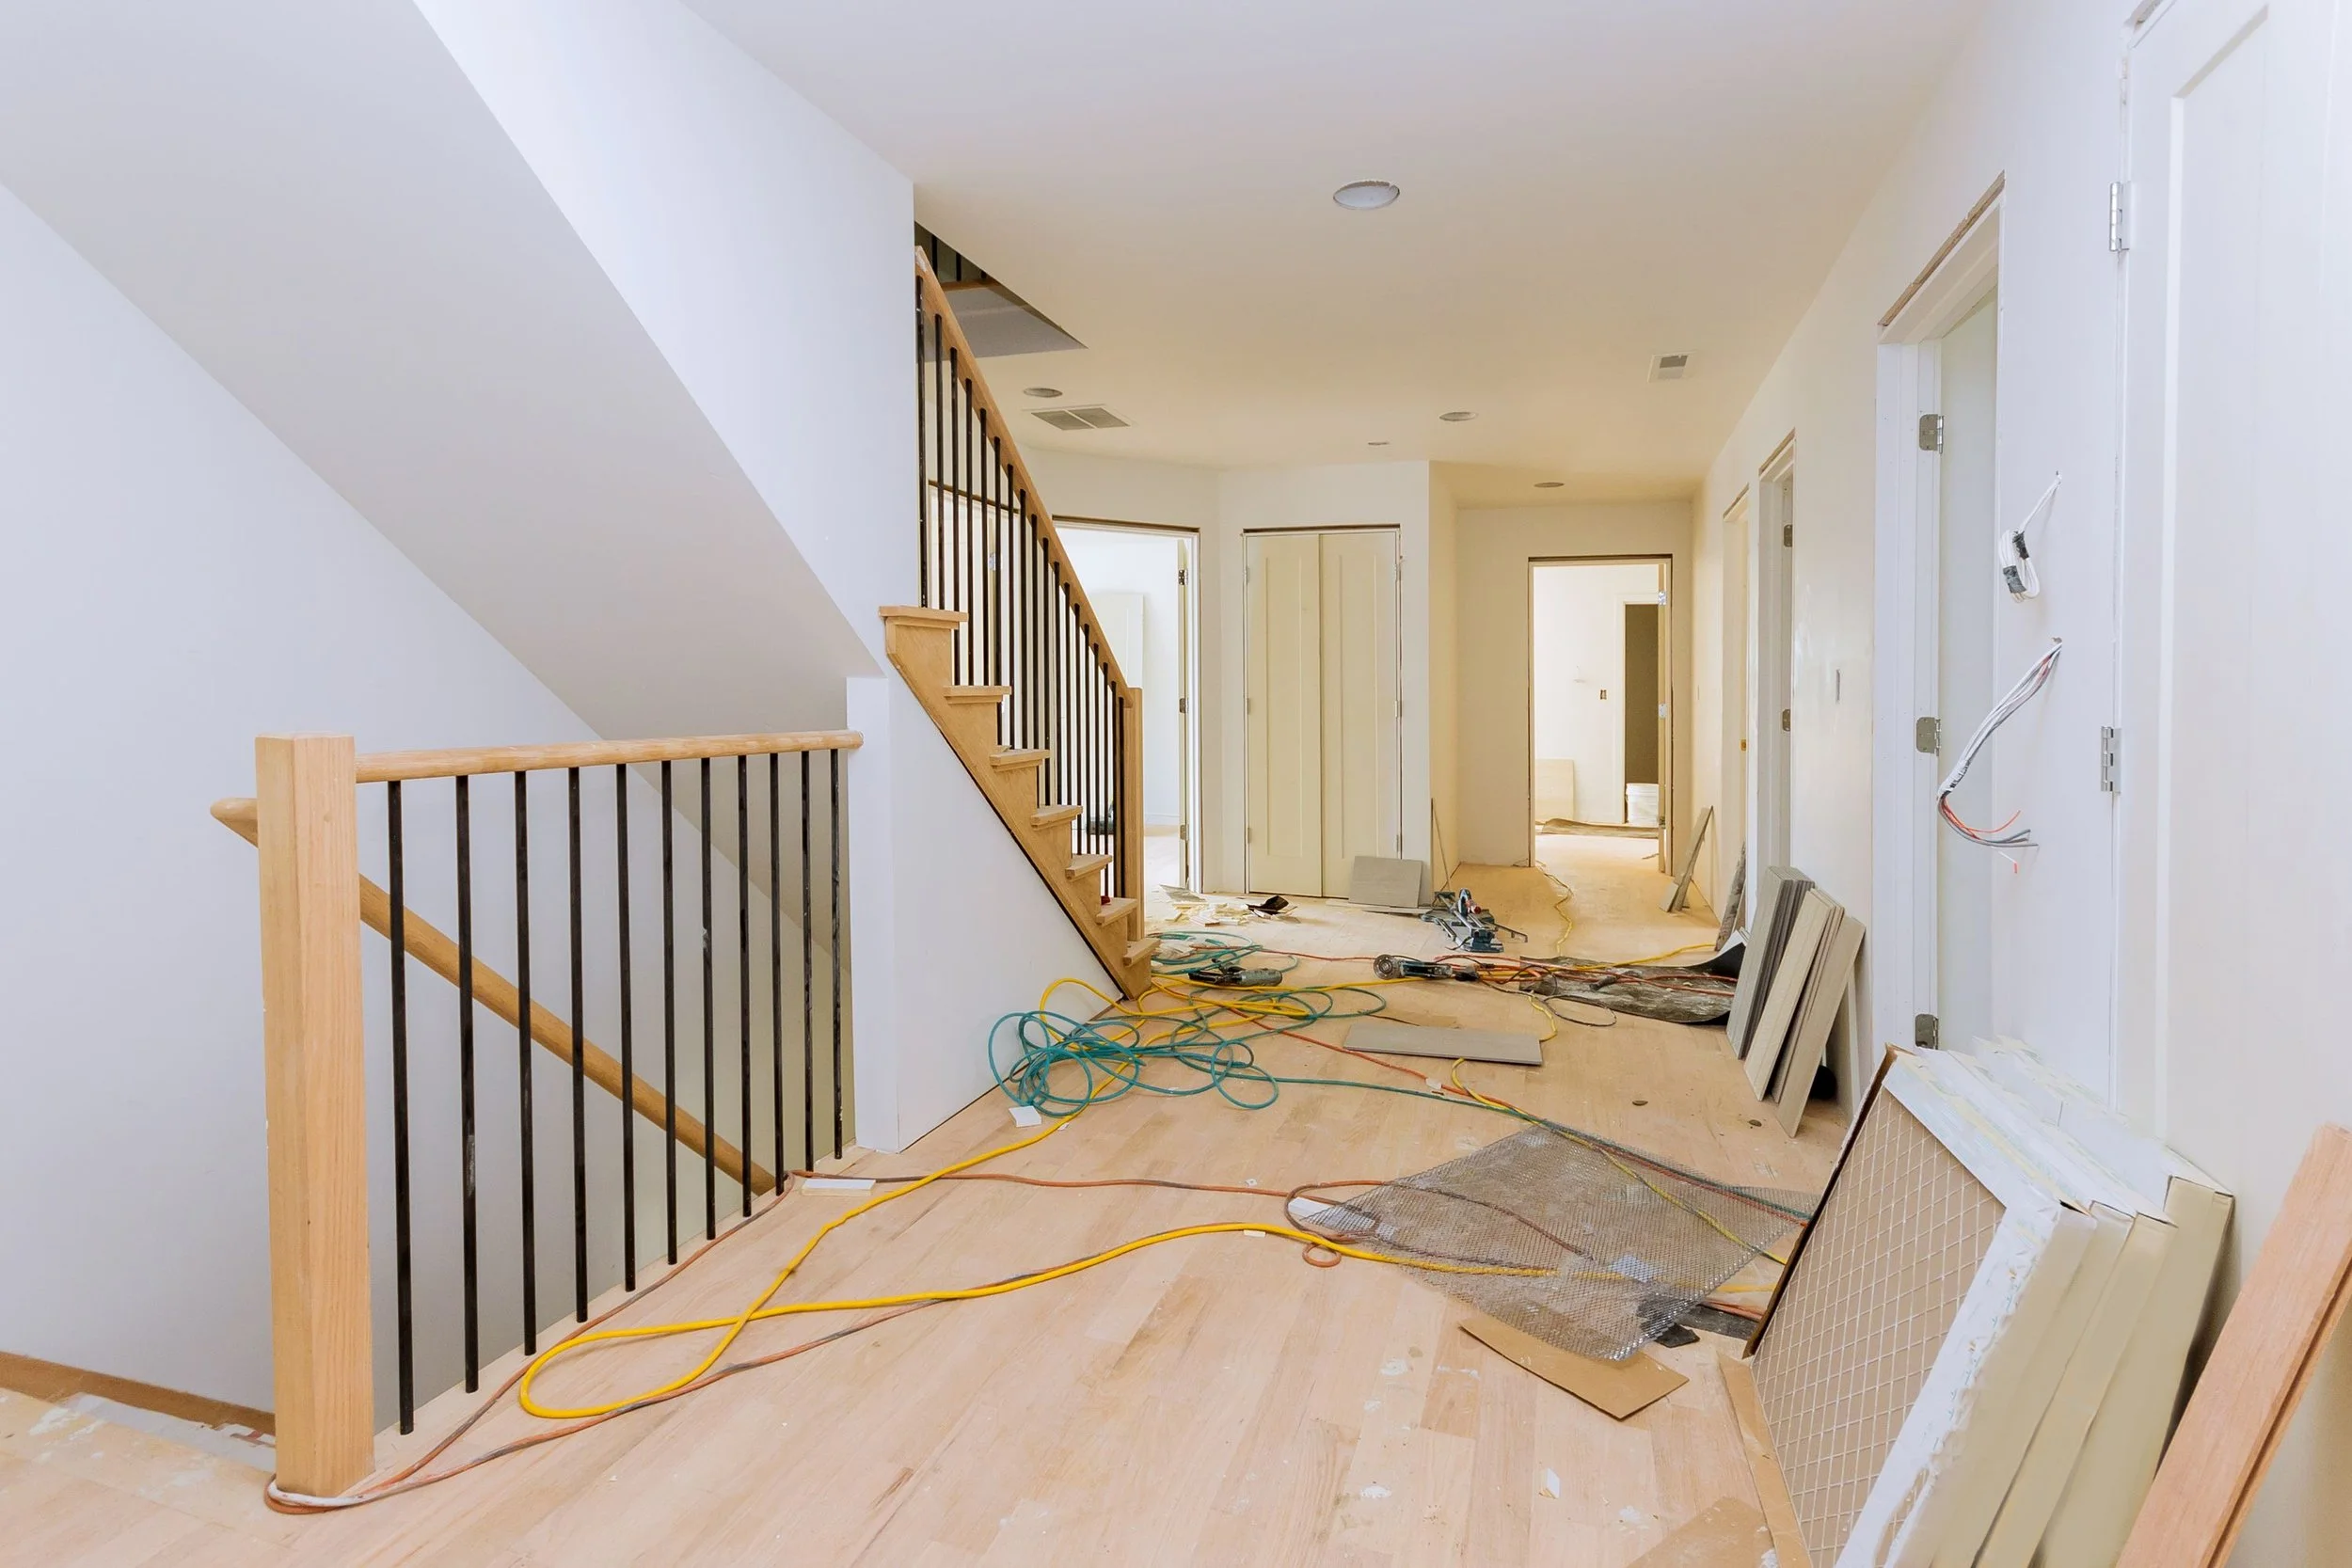
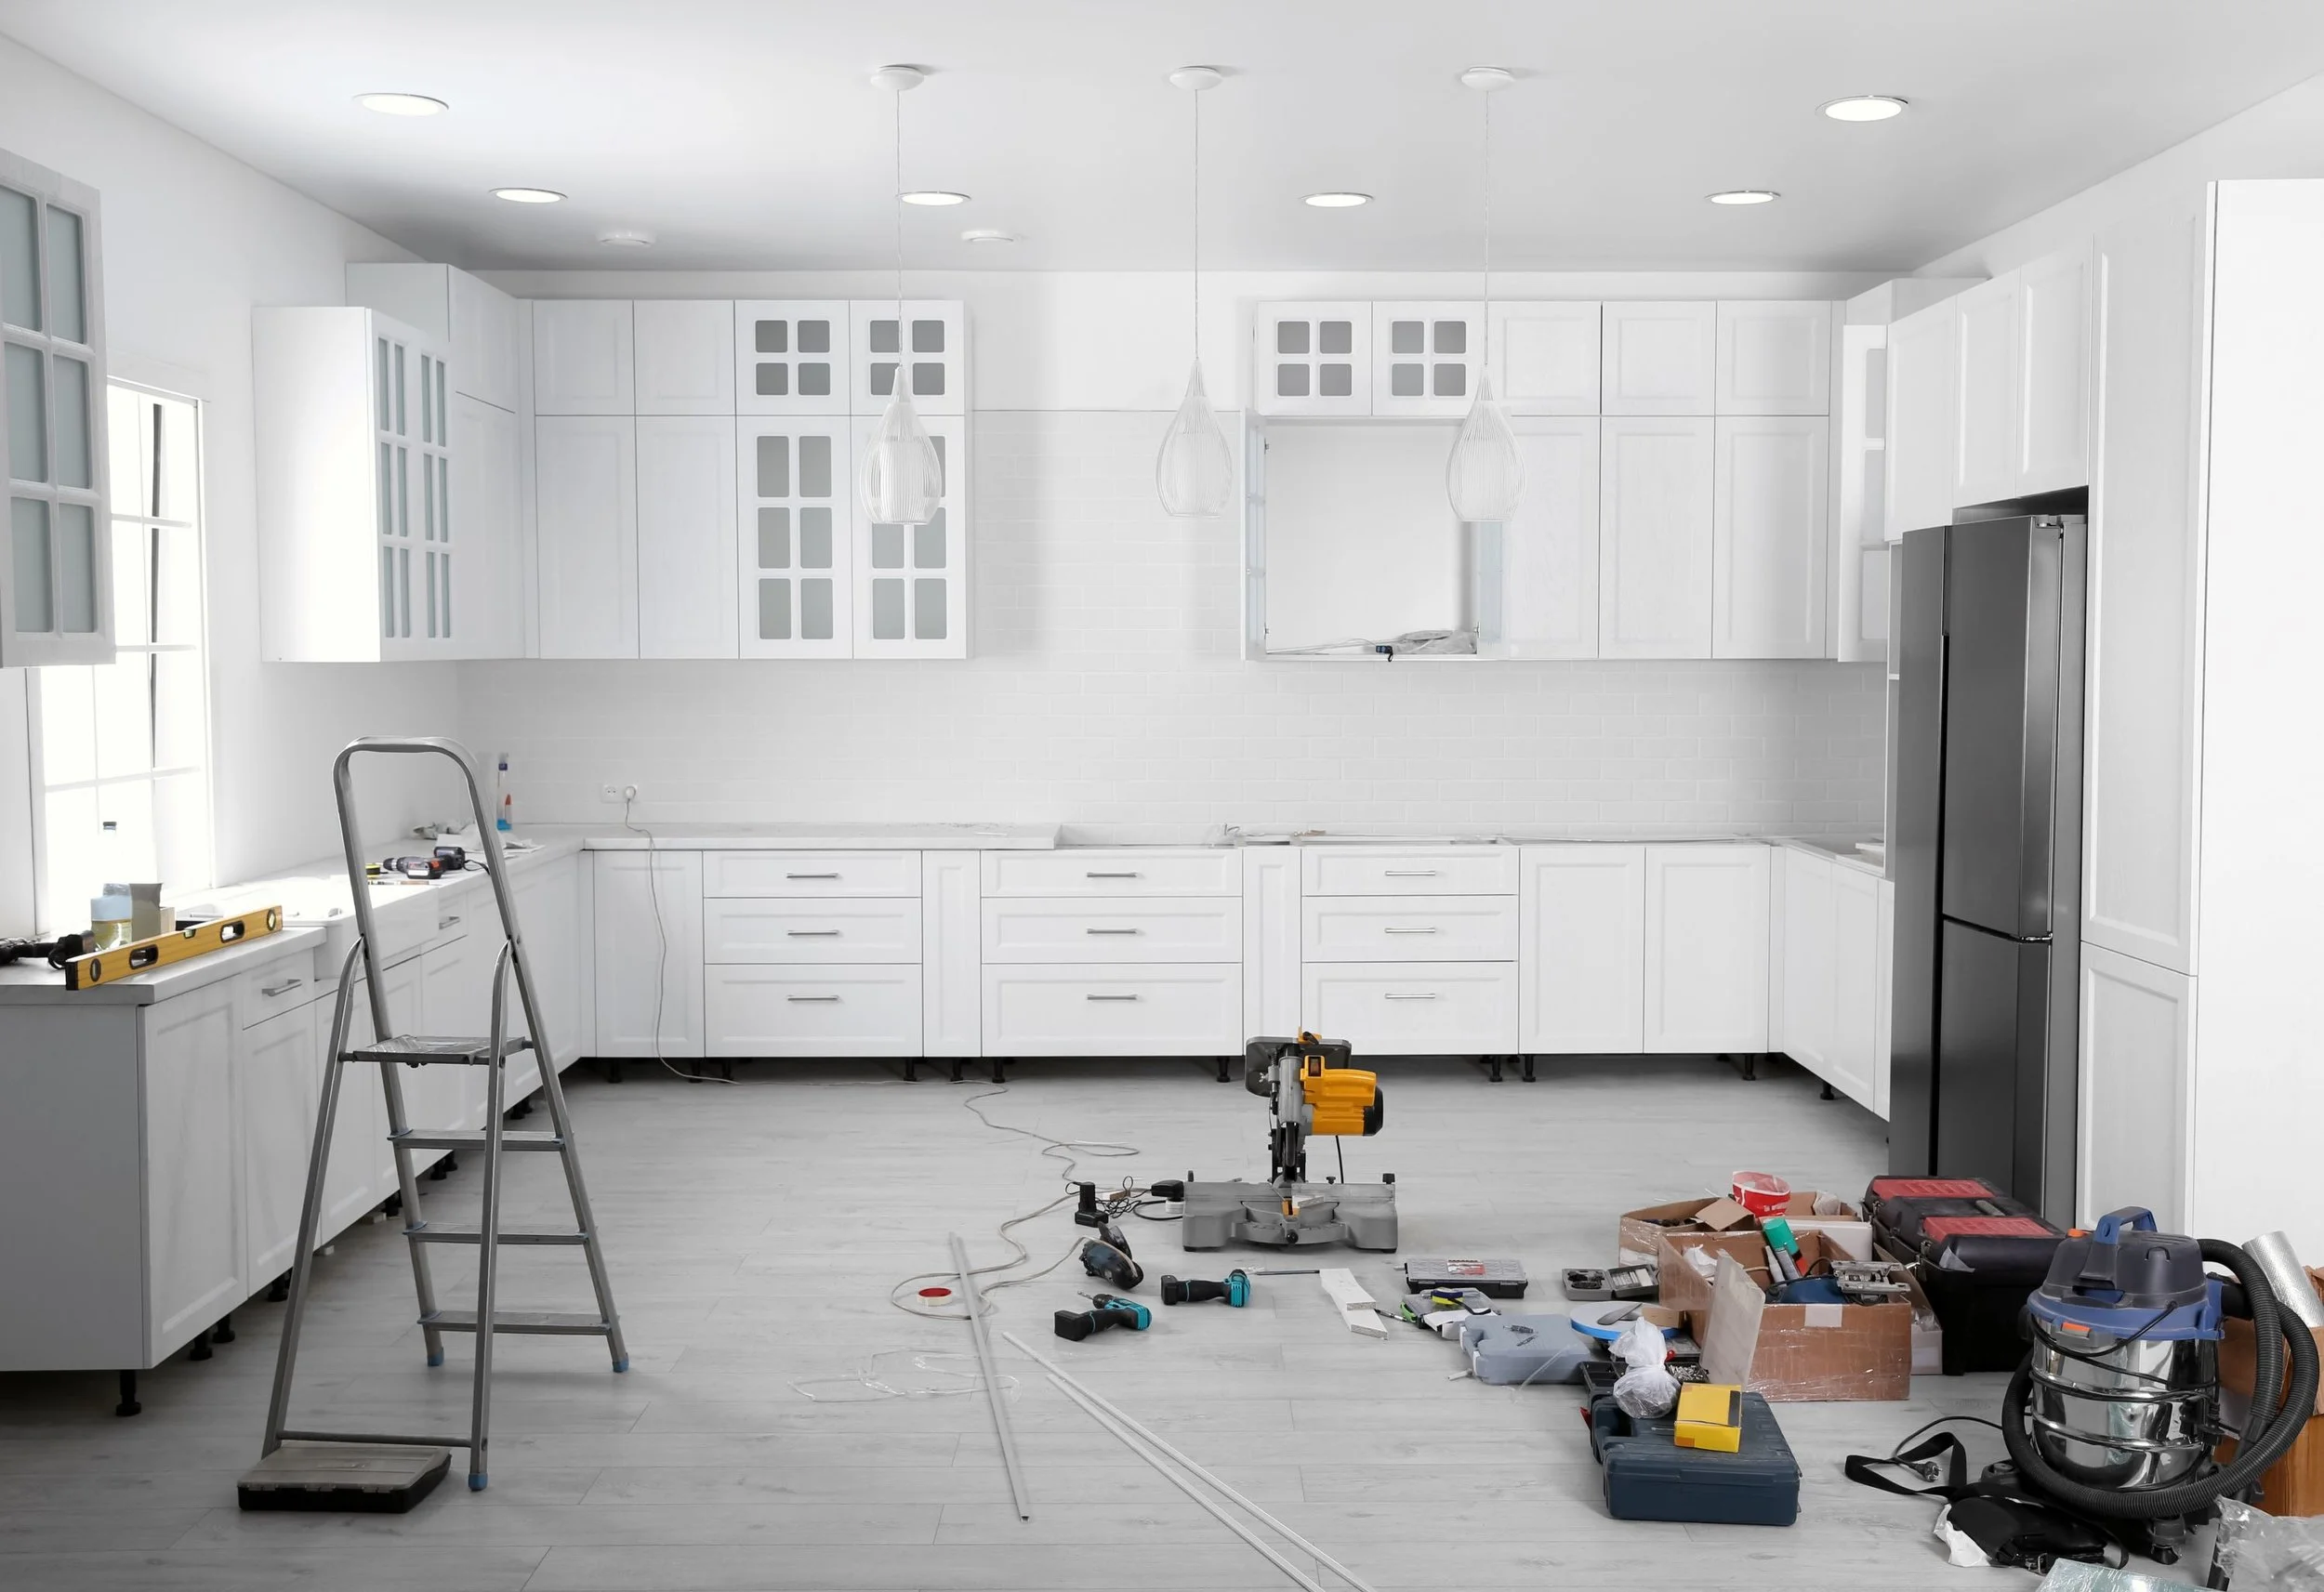
Once a renovation project is complete, you’ll likely end up with a large pile of construction waste. This debris must be cleared out for you to clean the rooms effectively. Thus, you can begin by decluttering the remodeled rooms by sorting out the materials so they can be thrown away, donated, or stored.
Then, tools such as ladders and hammers should be placed back in their containers, while leftover equipment like paint cans, tarp sheets, and construction paper on the floor can be taken outside. The building waste made of scraps of wood, glass, bricks, concrete, and drywall should be set aside for professionals like Same-Day Rubbish Removal to dispose of safely and according to local dumpster ordinances. If you have any furniture or appliances that you no longer need, these can be recycled or given to a charity.
2. Gather Your Cleaning Equipment And Gear Together
Next, you can gather all your cleaning equipment in the renovated rooms and get the necessary protective gear. Doing this will help you save time by immediately making all the items you’ll need available. The gear will prevent you from breathing in dust and fumes while protecting your skin from irritants.
The cleaning supplies should include an all-purpose cleaning solution spray, microfiber cloths or sponges, a broom, a wet and dry vacuum, a squeegee with window cleaner, and a mop and bucket. For protective gear, you can use arm-length kitchen gloves, an eye and dust mask, and an apron over your clothing. Furthermore, an N95 respirator mask can be used if paint or adhesive fumes remain in the remodeled rooms.
3. Clean From The Ceiling To The Floor
Once you start the cleaning process, you should adopt a top-to-bottom approach. This will prevent dirt and dust from traveling to already cleaned areas and filter it onto the floor, where it can be swept away altogether. Thus, you can wipe ceiling fans and light fixtures with a cloth, then move down to the curtain rails, the windows frames and bars, table surfaces, and wall shelves.
Be sure to clean small nook areas and objects such as doorknobs, fixtures, electrical appliances, and HVAC vents and grilles. Windows and glass door panels should also be dry wiped before you apply the cleaning solution and wash them with the squeegee. Finally, when all the dirt and dust accumulate on the floor, it can be swept away and mopped with warm soapy water.
4. Vacuum The Furniture And Carpeting
Soft fabric materials like furniture upholstery and carpets collect dust inside their fabric during construction jobs if a drop sheet isn’t used. Fortunately, a vacuum can draw out the dust and restore your furniture and carpeting to their natural color.
If you need a deep clean, a wet and dry vacuum can come in handy to remove the dust. Then apply a damp cleaning solution to effectively wash away the dirt before the carpet and furniture dry. This option can leave your upholstery and flooring dust free for longer.
5. Ventilate The Rooms
Sweeping and cleaning can leave your remodeled rooms with dust particles dispersed in the air. This is why you should open the doors and windows for a few hours after cleaning to improve indoor air quality.
If you have an HVAC system, you’ll need to check inside the vents and air filter for any trapped dust to prevent it from circulating in your home when it's turned on again. If the dust is minimal, a thorough vacuuming and cloth wipe can remove it. Otherwise, you can bring in a specialist to clean the entire system. The air filter can be cleaned separately or replaced to ensure they’re free from construction dust.
Conclusion:
After a home improvement project, you can clean and organize your house by decluttering and removing construction debris and equipment. Then, gather all your cleaning supplies and protective gear and start wiping the renovated rooms from top to bottom.
Pay close attention to cleaning the furniture, carpets, and HVAC system to eliminate dust from these areas through washing, vacuuming, and ventilation. These tips can help you thoroughly deep clean your new rooms to prepare them for your family’s use.