How to Caulk a Kitchen & Bathroom
RH Business Marketing Solutions
Caulking is a meticulous process, and when it’s done properly, produces a quality, smooth look which finishes out a project. There are several ways you can caulk an area, and with the right tools and technique, your kitchen or bathroom can really stand out.
Follow these steps to ensure a great caulking job:
● Purchase a mold-resistant silicone caulk
● Invest in a high-quality caulking gun
● Remove any old caulk
● Clean the surface thoroughly
● Correctly apply the caulk
● Apply a smoothing spray
● Allow for adequate drying time
Buy a quality, mold-resistant silicone
A silicone sealant is your best choice for caulking in moisture-prone areas. This sealant is a kind of adhesive that, when applied, makes a watertight seal between two surfaces at the joint where they meet.
When silicone is first applied, it is rather “gelly” and can be challenging to work with if you’re new to the process. Once it dries, though, it becomes more rubber-like, enabling it to be both flexible and protective, making it the preferred choice by many professionals and DIYers.
When you’re caulking a kitchen or bathroom, using mold-resistant silicone of good quality is imperative, as these areas will be exposed to constant moisture. You need silicone that is suitable for all kinds of materials, such as glass, stainless steel, ceramic, glazed and porcelain fixtures, and plastic laminates.
Especially with tubs and showers, the caulking material needs to be able to expand and contract as the weight and temperature of the area change. Since silicone caulk is more waterproof and flexible, it doesn’t crack or rot as easily, preventing mold growth.
Purchase a high-quality caulking gun
This cannot be stressed enough. Even if you only caulk once every few years, you’ll want to invest the money in a high-grade caulking gun. Choose a gun that is made from a heavier-gauge metal. Cheaper guns produce poor results and can have you fussing and fuming trying to get them to work properly.
Once you have the best gun, practice a bit first to get used to the caulking gun, how to handle it, and get familiar with the products so you can do the job right the first time.
Clean the surface before application
If you are working with an established home, you may have to remove the old caulk before applying a new one. It will be especially important for you to completely remove all of the old caulk material so no water is able to get in between the gaps.
You’re also going to be removing any dirt or dust from the surfaces, again, to ensure the best adhesion ability for the caulk. Once you have cleaned the entire surface, making sure it is completely free of any old caulk and dirt or dust residue, wipe the surface with bleach or isopropyl alcohol.
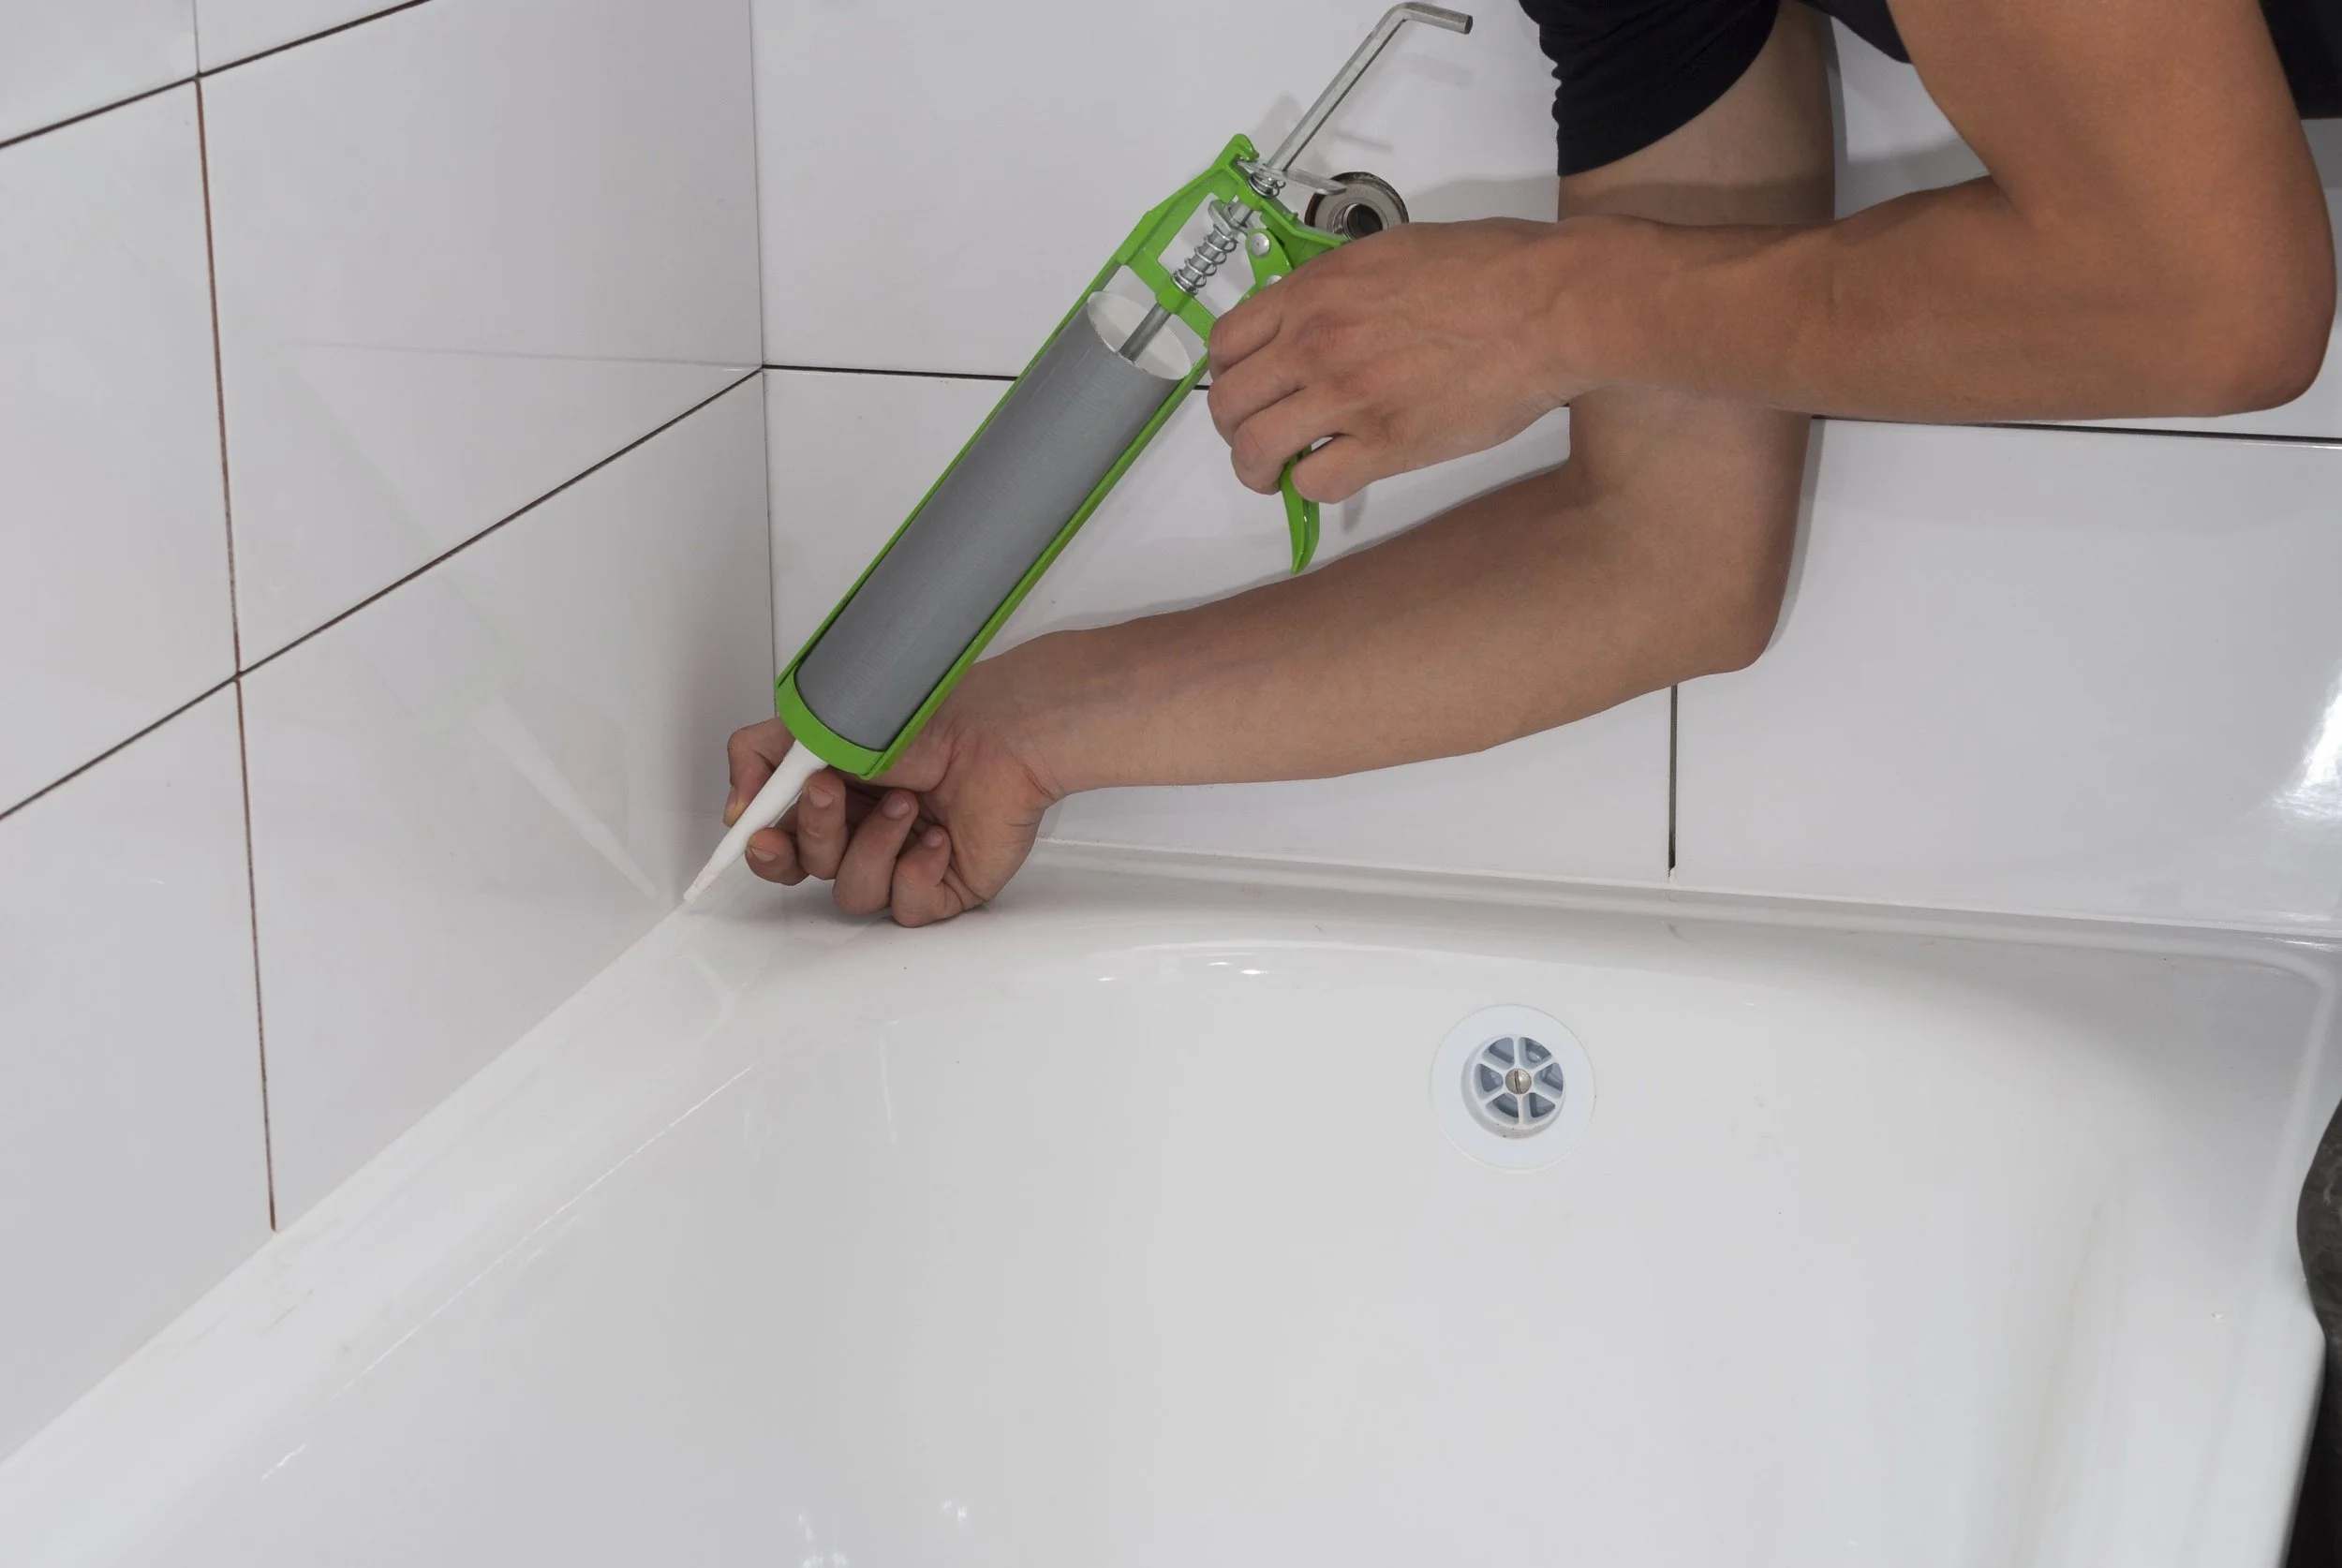
Applying the caulk correctly
When you are ready to start caulking, you’ll want to cut the nozzle of the caulk tube at a 45-degree angle. Some tubes of caulk have 45-degree markings directly on the tube end, showing you how to cut it.
This slant, regardless of how wide you will need your caulk bead to be, will allow you to apply the caulk at an angle, which makes for a much smoother bead. When you're caulking the narrow joint spaces in areas of kitchens and bathrooms, this slanted cut on the tube will allow you to maintain better control over the amount of caulk being released from the tube.
The key to a smooth caulk bead is holding the tube at the same angle as the cut you made while you’re pulling the tube along the joint you need to caulk.
You also need to consider the amount of pressure you’re applying and the speed with which you are moving along the joint. This is where the practice comes in handy, as it will help you get a feel for the best method in both these areas of application.
As you’re going along, don’t worry if you leave a gap. It’s better to go back and make a second pass than it is to move too slowly and have a lot of extra caulk to clean up.
When you are caulking along a tub or shower, as well as around the tile of the backsplash in a kitchen, you'll want to maintain a steady flow of caulk pushing out of the tube. Once you reach the end of the bead, lift up the tube quickly and let off the pressure. Be sure to clean the tip of the tube before you start another line.
Don’t forget to spray on a smoothing applicator!
One step that many people may not be aware of is to use a finishing spray on the caulk once you’ve finished applying it to the joint. When you’ve applied the caulk, you can take a bottle of simple isopropyl alcohol and spray the area.
Smooth the bead with your finger, and the alcohol will provide lubrication to keep the silicone from sticking in areas you don’t want it to. You can also use warm soapy water or glass cleaner instead of alcohol.
Finish it off with the right caulking tool
To create the cleanest finish for your caulking project, you’ll want to use a caulking took, or a “pull stick,” to create those perfect lines. By finishing with a caulking tool, you not only smooth the bead of the caulk but also push the caulk down into the joint securely. The finishing tool will trim off any excess caulk, too.
You can invest in a high-quality tool that promises perfect results every time.
This type of tool will be either plastic, rubber, or stainless steel; you’ll just want to be sure whatever type you choose is flexible enough to smoothly glide over the caulk bead without dragging it and making a mess. You can also try a popsicle stick, which has a perfectly rounded end for a smooth finish, or use the bottom side of a plastic spoon.
Allow time for the caulk to set
Once you’ve finished applying, smoothing, and finishing your caulk, leave it undisturbed and dry for as long as the caulk manufacturer recommends. Add some additional time, if you can, to ensure maximum curing time. Do not use the sink, tub, or shower until this cure time is complete, or else the moisture will interfere with the drying process.
Now sit back and admire your handy work.
About The Author
Correct caulking Melbourne are the leading joint sealing applicators in Victoria, they have over 10 years’ experience in all types of construction from custom homes to high rise buildings.